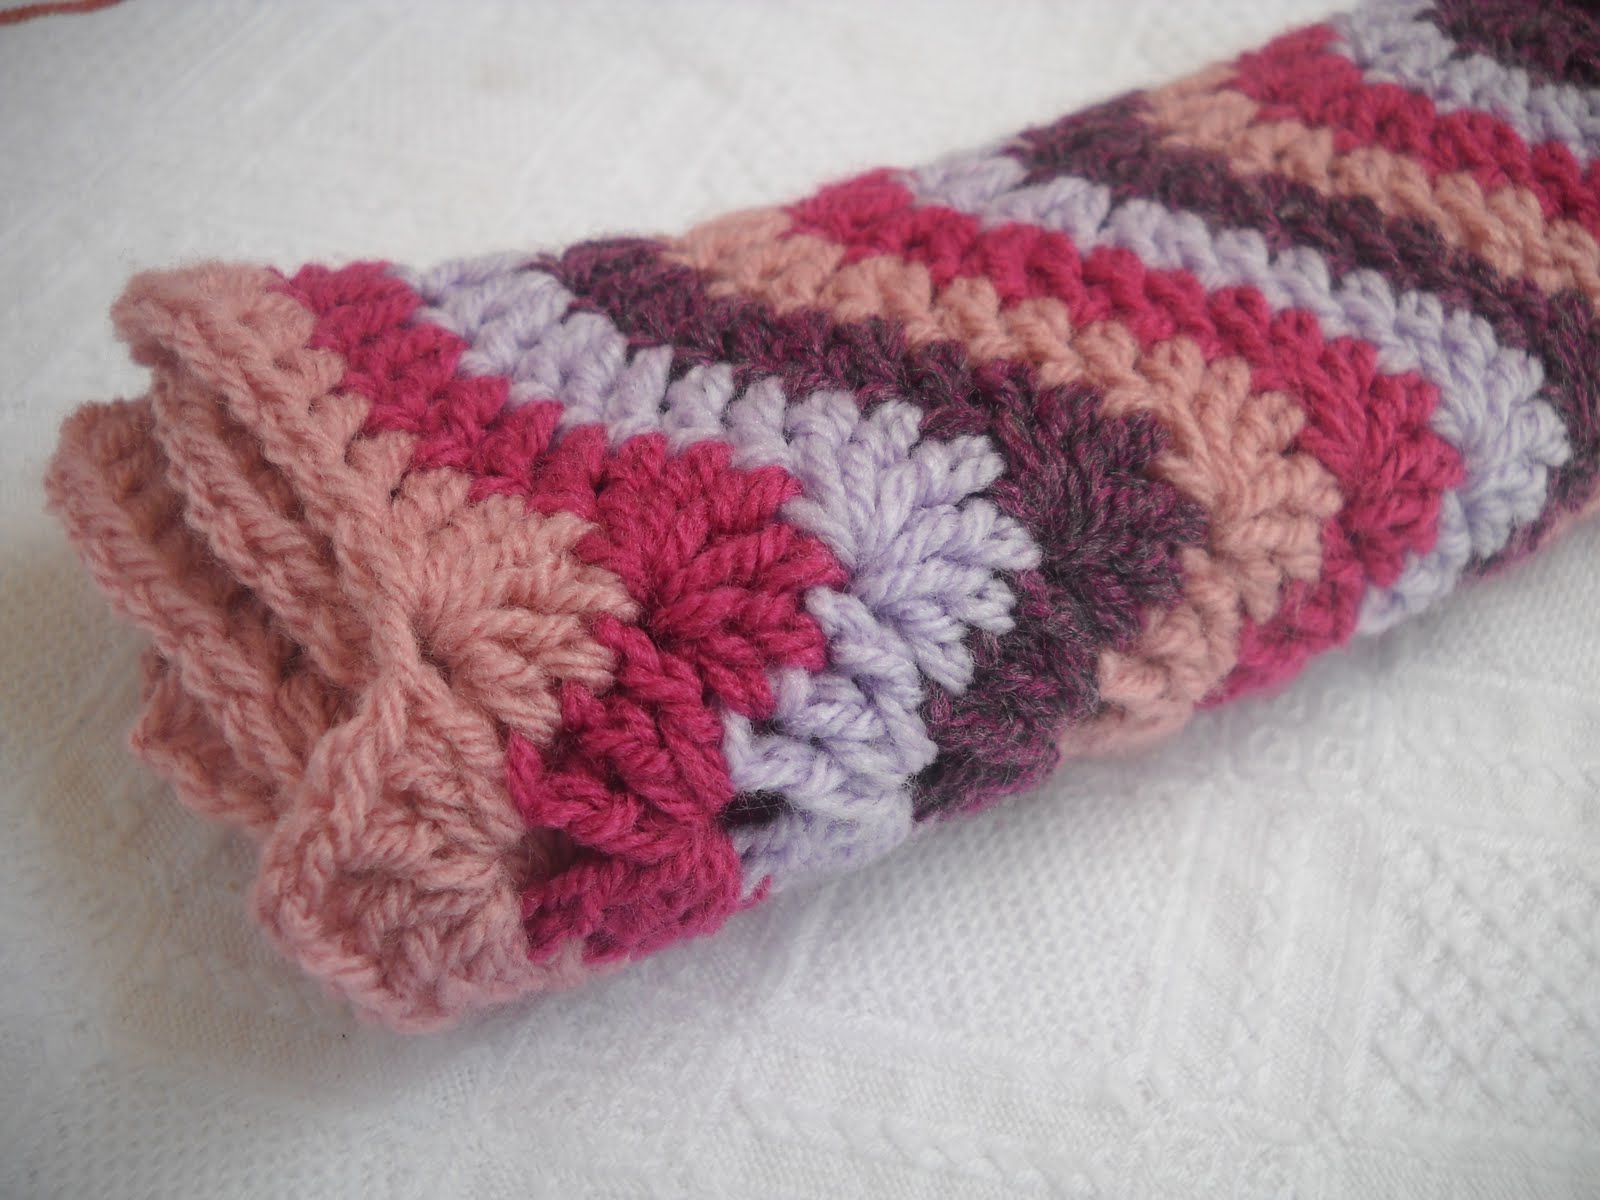
Thank you all so much for your kind comments and suggestions regarding the ripple-pattern I was working on. I've come up with a pattern to share with you and I hope it fits the bill.
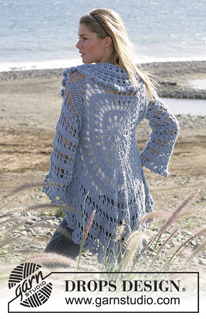
I've called it the "Ribbon Ripple Pattern" because it was indeed inspired by the Bargello Ribbon pattern. Well done Umm Abdulrahman! I saw a print of the pattern on a cushion and it's been bugging me to crochet it ever since! Initially I was going to make a cushion out of it, but I need a break from cushions and I'll have a re-think about what this can become. I didn't want to delay sharing the pattern though, so I will leave it up to you to decide what you'd like the final item to be, if you choose to try it out.
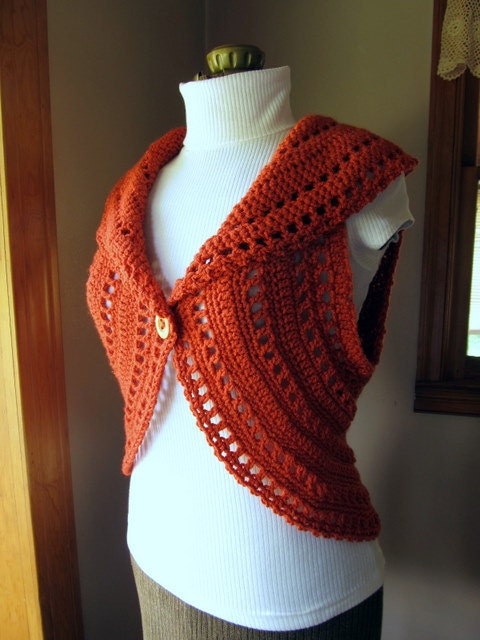
Of course, you can ribbon ripple your heart out and make a blanket. Or if you are less patient (like me!), a scarf or a cowl.
For a very quick project, how about a book sock or a mug cosy?
Ribbon Ripple Tutorial (see below for a straight-forward pattern)
Note: US crochet terminology used (for UK/Aus: the only stitch used is a treble)
Anyway, getting down to the nitty gritty, I've used DK aran here and for me a 4.5mm hook works best. See what's best for you and your yarn. This combination gives a slightly tighter finish. Unlike a usual ripple there are a couple of fiddly bits with this one. But after the first row, it's really easy to get in to the swing of things. The aim was to have contrasting smooth and sharp ripples together. Another thing to bear in mind: you do not turn your work. It is worked up on the right side only.
One pattern repeat needs 23 chains. So depending on the width or length you need, you will have to chain on a multiple of 23. So for example, the mug cosy needs 2 pattern repeats, so I chained 46 (2 x 23 = 46).
A scarf might need 6 repeats, so a chain of 138 (6 x 23 = 138)
This is the pattern for one pattern repeat:
Start by chaining 23.
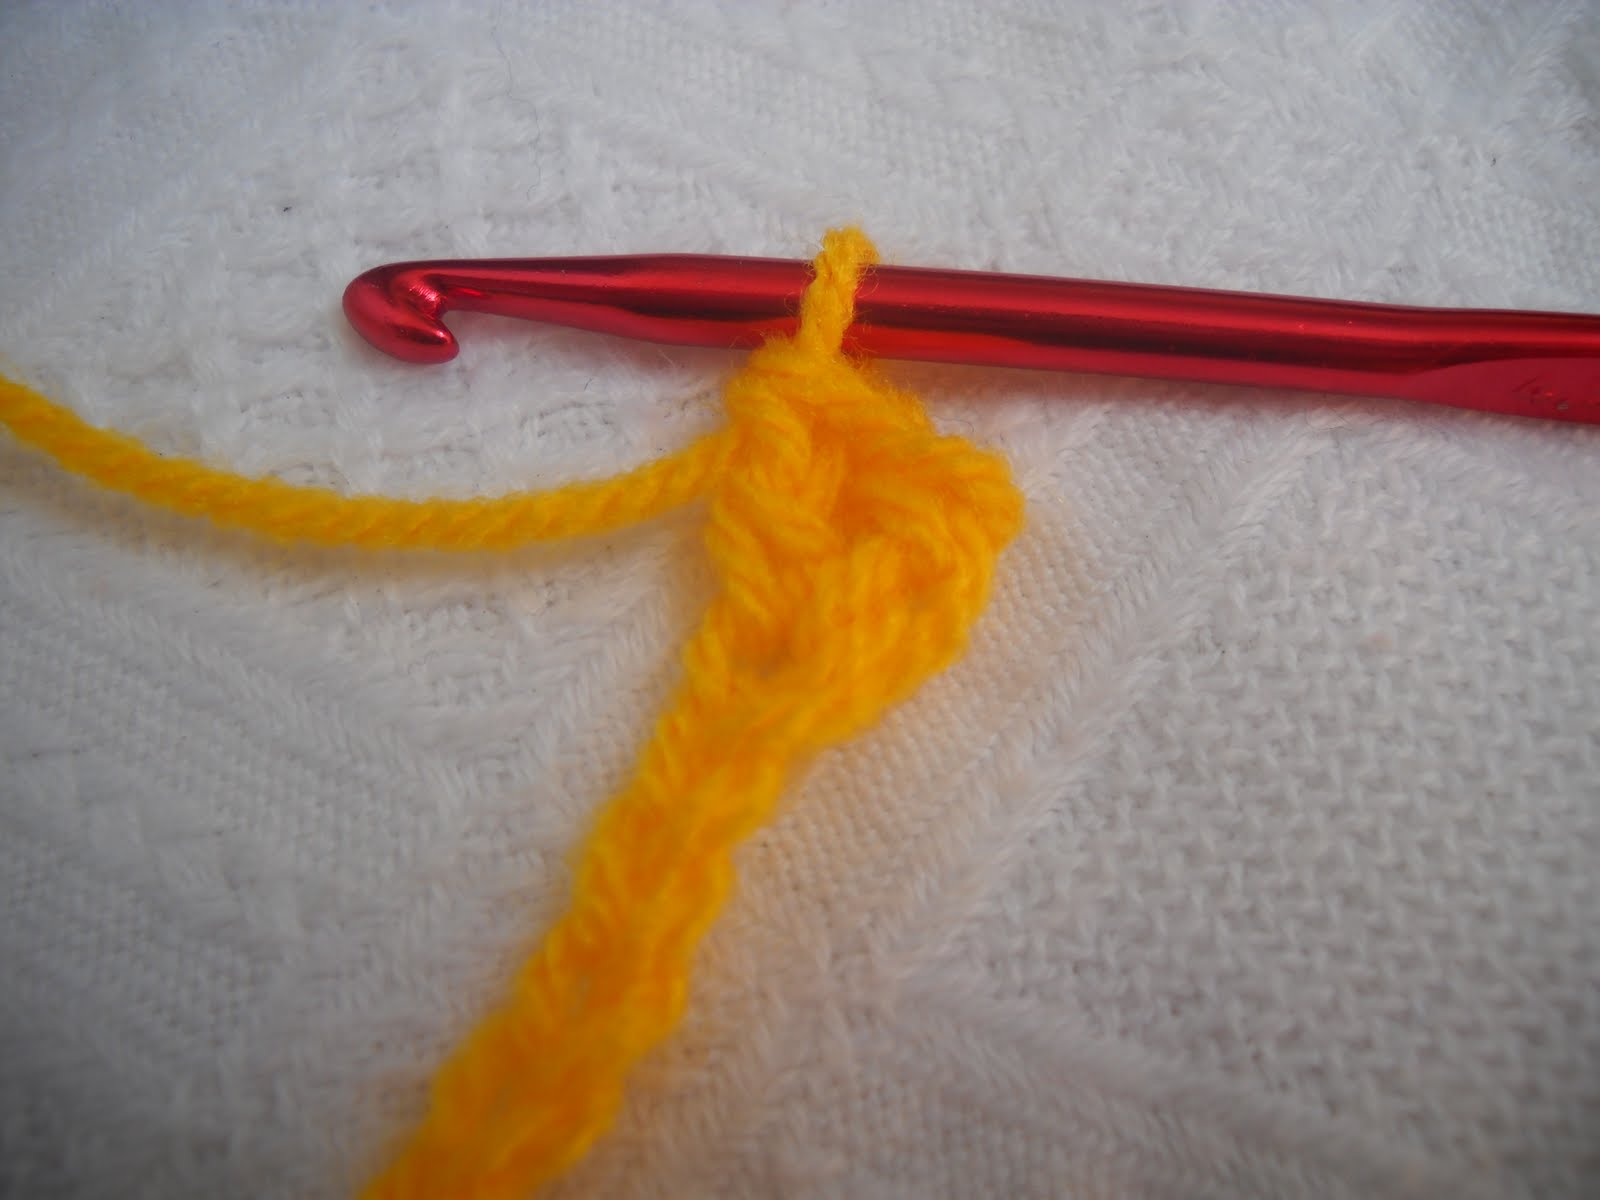
Then you need another ch 3 (that counts as a dc) OR you do a no-turning-chain-dc using
this method that I've mentioned before.
You then do another dc in the same ch.
Crochet 2 dc in the next chain.
Then a dc in the next 3 chains.
Then we have a fiddly bit. Yarn over, go in to the next chain and pull up a loop.
Yarn over and pull through 2 loops. You have one semi-formed dc.
Do this 5 more times so that you have 6 semi-formed dcs and 7 loops on the hook.
Yarn over and pull through all 7 loops. Let's call that a cluster stitch. That is your first trough or dip in the ripple.
In the next chain, work 3 dcs, chain 2, and another 3 dcs.
That is your first peak in the ripple.
Work up another cluster stitch in the next 6 chains.
And dc in the next 3 chains.
Finally, 2dc in each of the last 2 chains.
You should end up with a squiggly "W".
Now for the second row, don't turn your work! Slip stitch another colour in to the first dc of the first row and work a dc.
Then, another one (in the same dc).
Again, 2 dc in the next dc ...
... and a dc in the next 3 dcs.
Then, a cluster in the next 6 stitches.
The 4th one goes in to the top of the cluster from row 1.
Continuing the pattern, work 3 dc, chain 2 and 3 more dc in the ch 2 space from row 1.
And another cluster in the next 6 stitches.
Work a dc in next 3 dcs and 2 dc in each of the next 2 dc.
Got it? Any questions, just give me a shout.
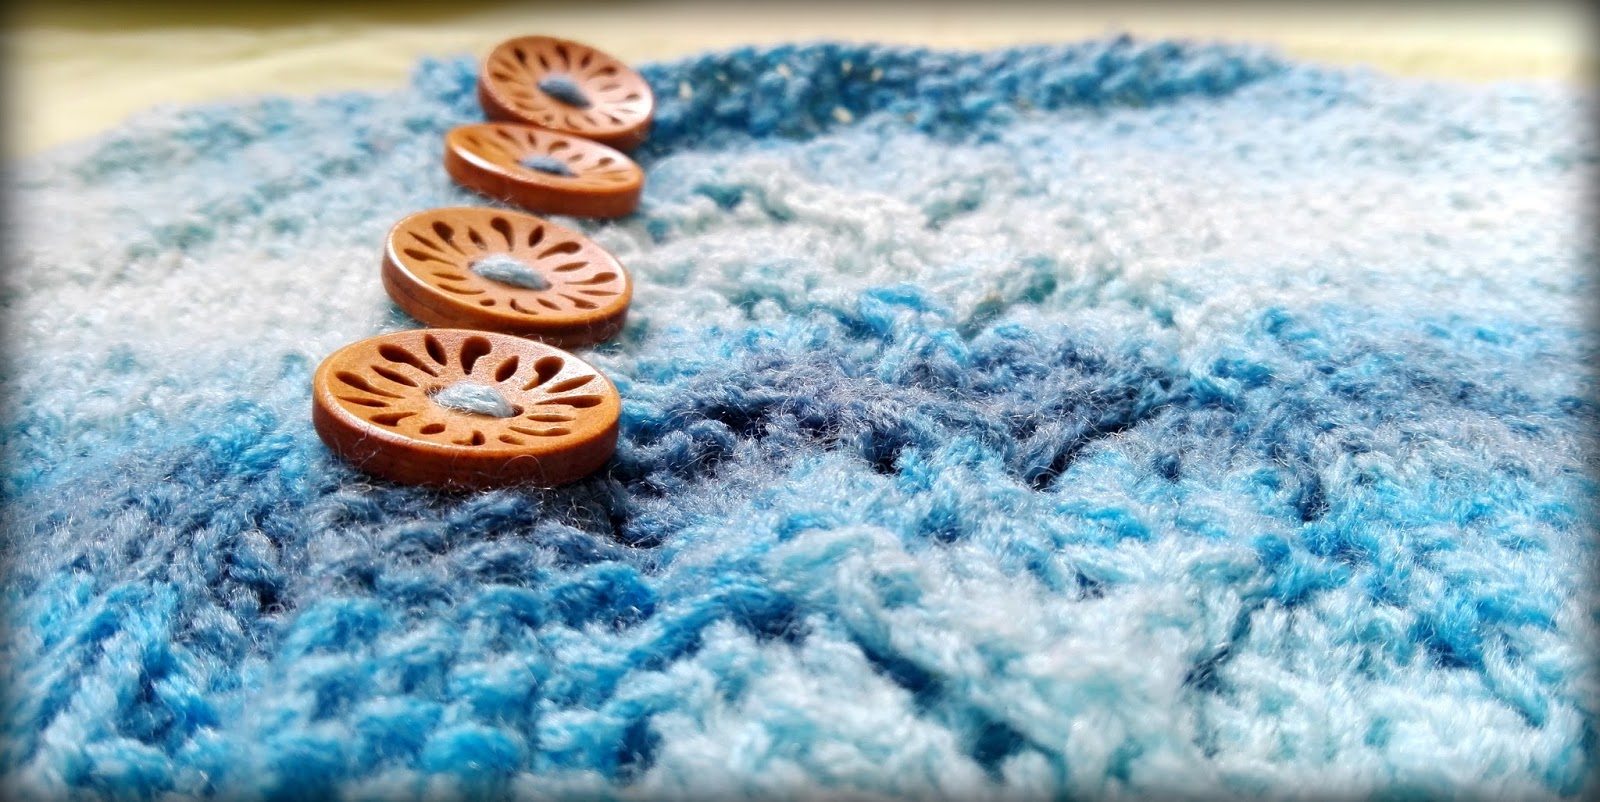
A few rows might look something like this.
For the Mug Cosy, I just slip stitched the last chain in to the first and rippled around ...
... leaving the next few rounds open (not slip stitching) for the mug handle.
*******************************************************************************
Ribbon Ripple Pattern
Yarn used: DK aran
Hook size: 4.5 mm
Note: US terminology used. US dc = UK/Aus tr
Special stitch:
Cluster stitch (cl st) - (yo, insert hook in next ch, yo, pull up a loop, yo, pull through 2 loops) 6 times, yo, pull through all 7 loops on hook.
Foundation chain: multiple of 23
Row 1: 2dc in 1st ch, 2dc in next ch, dc in next 3 chs, cl st in next 6 chs, (3dc, ch2, 3dc) in next ch, cl st in next 6 chs, dc in next 3 chs, 2 dc in next 2 chs (repeat for desired length)
Row 2: 2dc in 1st dc of row 1, 2dc in next dc, dc in next 3 dc, cl st in next 6 dc, (3dc, ch2, 3dc) in ch2 sp, cl st in next 6 dc, dc in next 3 dc, 2 dc in next 2 dc
Repeat row 2 until desired size is obtained.
********************************************************************************
See? It's not that hard to remember the pattern either!
Do let me know if you try it and how you get on. I'd love to see pictures. Don't forget to leave me a link to your project!